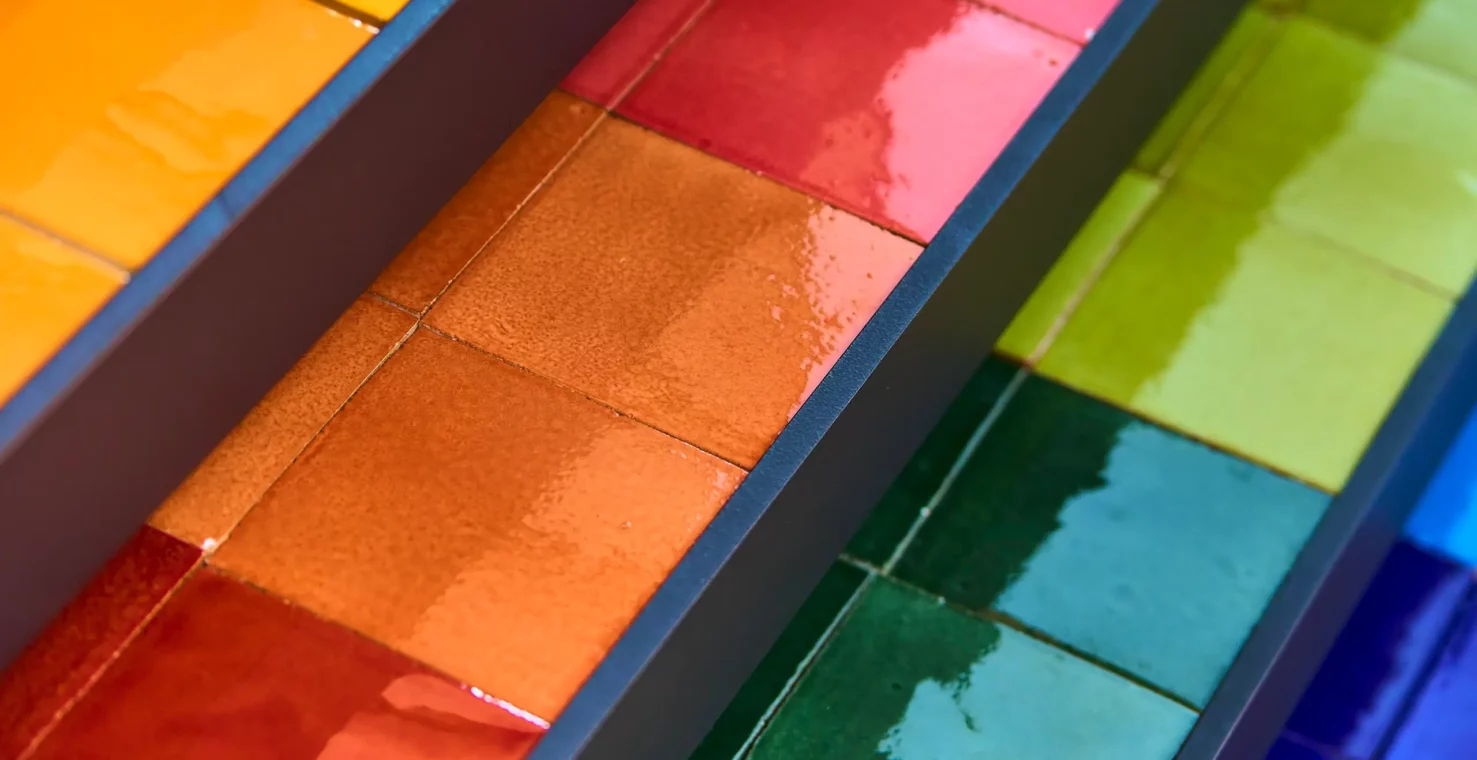
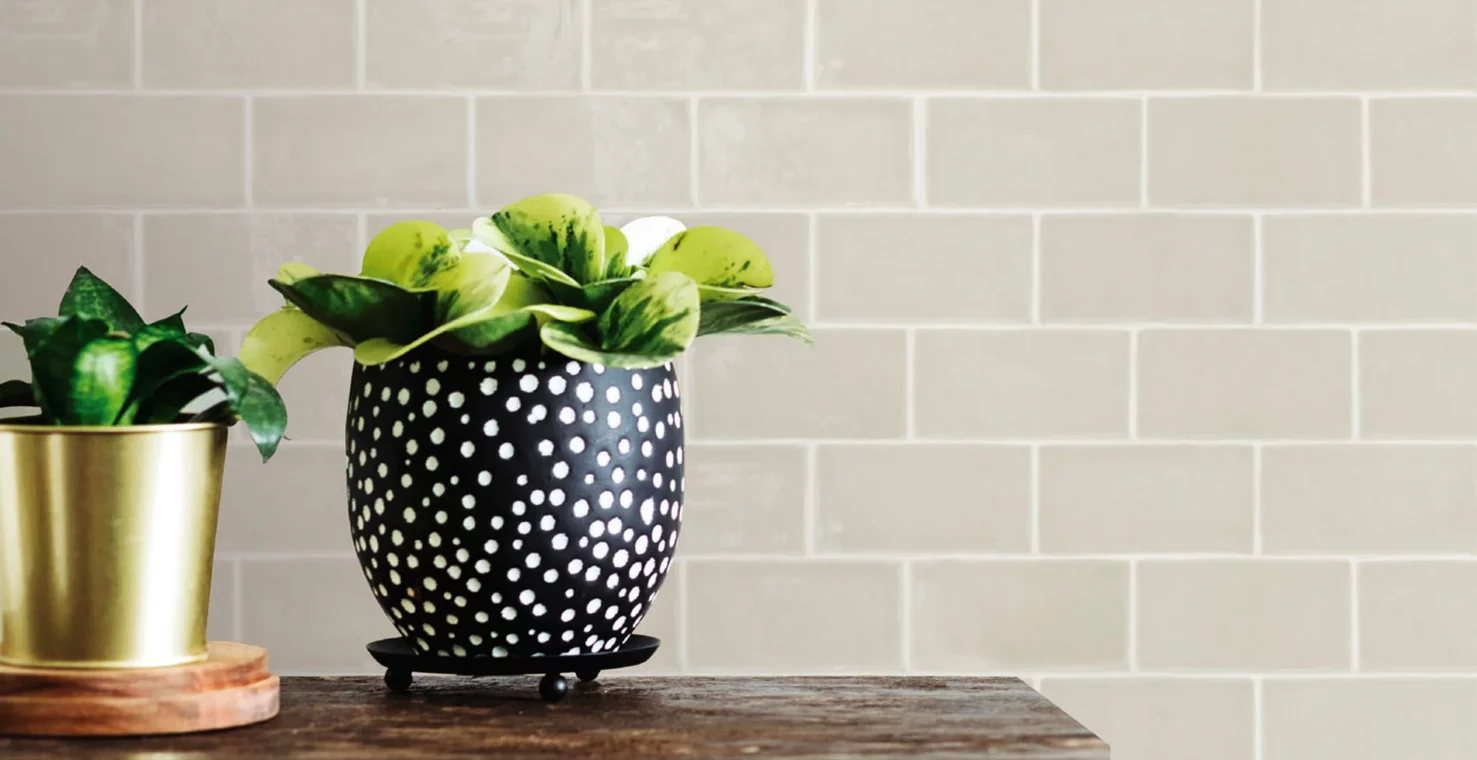
Zellige tiles are a traditional Moroccan tile. These exquisite tiles are renowned for their varying glaze colors and are meticulously handcrafted using an ancient process. Made from terracotta, each tile is shaped by hand, fired in pits, glazed, and chiseled to size. The presence of imperfections signifies the handmade nature and unique beauty of Zellige tiles.
1. Understanding the Unique Qualities of Zellige Tiles:
1.1 Each Tile is Unique: Zellige tiles are individually handcrafted, resulting in variations in size, color, and texture. These variations are inherent to the tile’s charm and contribute to its authentic character. It is important to embrace the subtle differences and appreciate the beauty of each tile.
1.2 Imperfections: Zellige tiles may contain pits, cracks, crazing, and chipped edges due to the raw materials and traditional production methods. These imperfections are considered part of the traditional Zellige finish and do not affect the installation or performance of the tiles. In fact, they enhance the tile’s unique appeal and give it its distinct look.
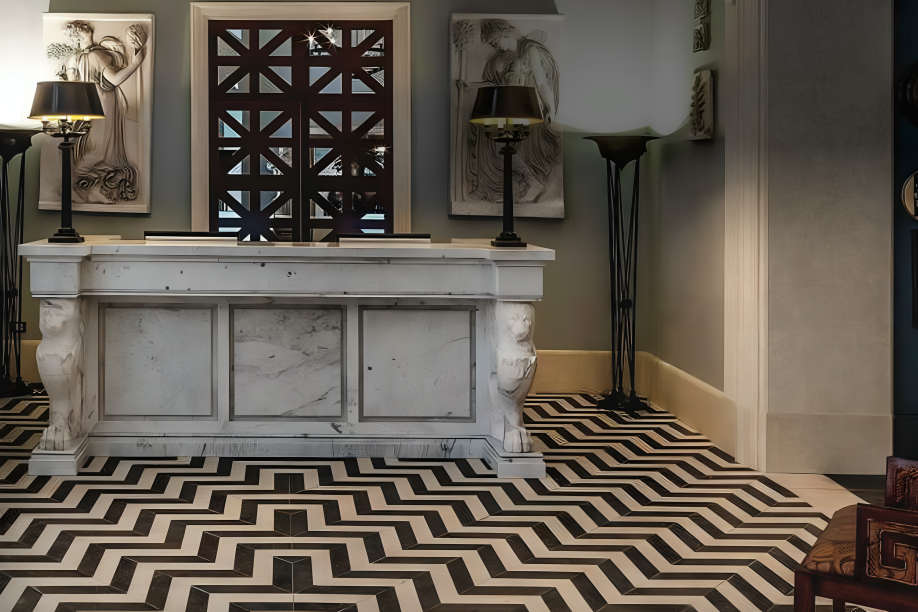
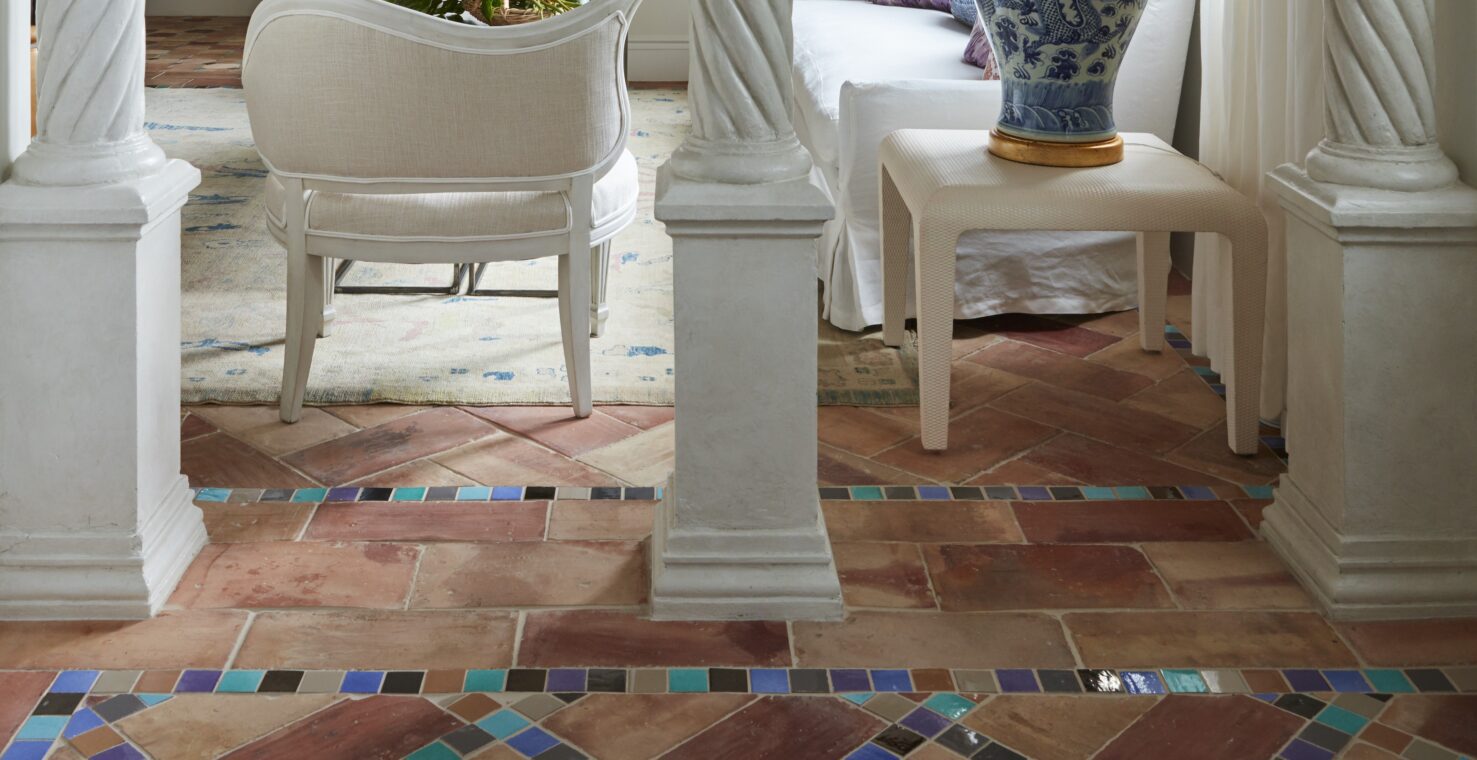
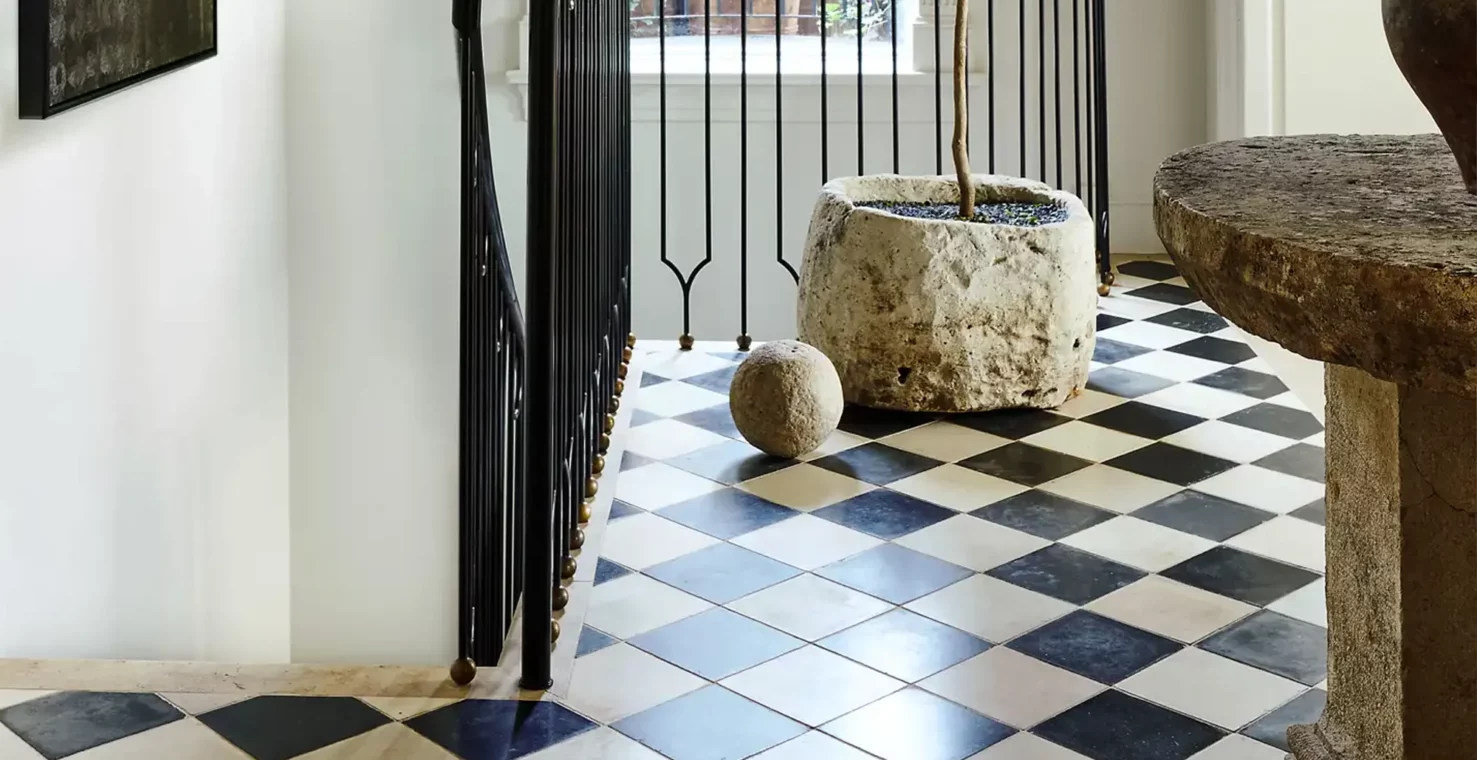
1.3 Intended Uses: Zellige tiles can be used for a wide variety of applications. Most commonly used as backsplashes and in bathrooms and showers, they can also be used in pools and as flooring in low traffic parts of your house.
2. Tile Inspection and Blending:
2.1 Inspecting Your Shipment: When your Zellige tile order arrives, it is crucial to carefully inspect the tiles for any damage or discrepancies. Due to the nature of Zellige production, slight color variations and chipping are expected. In cases of more serious damage, please refer to our Cancellation and Return policy.
2.2 Blending Tiles: To achieve the best overall blend of color and imperfections, it is recommended to mix Zellige tiles from different boxes during the installation process. By blending the tiles, you can distribute variations more evenly across the surface, creating a harmonious and cohesive look. Avoid installing tiles from unblended boxes, as this can result in noticeable color patches or inconsistencies.
3. Installation Process:
3.1 Using a Professional Installer: Above all other options, we recommend a professional installer, with experience installing Zellige tiles. Due to the delicate nature of the tiles, and the requirement of a specific technique, we consider hiring a professional imperative. The following instructions should merely be used for a professional’s reference.
3.2 Preparation: Before starting the installation, ensure that the walls or surfaces are level and clean. Remove any dust, debris, or old adhesive to create a smooth and even substrate for the Zellige tiles. Proper preparation is essential for achieving a successful and long-lasting installation.
3.3 Soaking: Each tile should be soaked in water for 1-2 minutes. This will help remove dust and residue, and help the tiles properly adhere to the installation surface.
3.4 Adhesive Application: Use a high-quality thin-set adhesive, specifically made for Zellige tiles. Apply a layer of adhesive on the wall or surface using a notched trowel. Additionally, apply another layer of adhesive on the back of each tile to ensure a strong bond.
3.5 Placing and Spacing: Set each Zellige tile into the wall adhesive one at a time, gently pressing it into place. Due to the handmade nature of Zellige tiles, their edges may be uneven. To achieve consistent spacing between tiles, use wedge spacers. These spacers help maintain uniformity while accommodating the uneven edges and slight size variations.
3.6 Cutting and Grouting: To fit Zellige tiles around corners, edges, or fixtures, you may need to cut them. Use a tile cutter to snap the tiles along desired lines, or use a wet diamond blade to slice through the tiles for more intricate cuts. Once the tiles are in place, allow the adhesive to cure before proceeding with the grouting process. When grouting, use a grout specifically designed for your Zellige tiles. Note that glazed and unglazed Zellige tiles typically require different grout options. The grout not only fills the gaps between the tiles but also enhances the traditional Zellige look by filling pits, chips, and cracks.
3.7 Cleaning: After completing the grouting process, it is essential to remove any excess grout and grout film from the surface of the tiles. Use a damp sponge or cloth to carefully clean the tiles without disturbing the grout lines. Avoid using harsh chemicals or abrasive cleaners that can damage the tile’s surface.
4. Specific Installation Considerations:
4.1 Zellige on Floors: While Zellige tiles can be used on floors, they are best suited for light traffic areas where the tiles won’t be exposed to heavy impacts or constant foot traffic. Proper bonding between Zellige tile pieces and the subfloor is crucial. Ensure the subfloor is clean, level, and free from any irregularities or moisture issues before installing Zellige tiles on the floor.
4.2 Zellige in Wet Areas: Zellige tiles can be used in wet areas such as swimming pools, shower floors, shower walls, and fountains. However, it is important to ensure that the surfaces where Zellige tiles will be installed are waterproof, stable, and rigid. Use an adhesive cement and grout specifically designed for wet spaces to maintain the integrity of the installation over time.
5. Maintenance and Care:
5.1 Minimal Maintenance: Zellige tiles require minimal maintenance to keep their beauty intact. Regular cleaning with mild soaps or neutral cleaners is typically sufficient to maintain their appearance. Avoid using acidic or abrasive cleaners that can damage the tile’s glaze or surface.
5.2 Sealing: Zellige tiles are glazed terracotta and do not require sealing. The glaze provides a protective layer that helps resist stains and moisture. However, for Unglazed Natural Zellige tiles, it is recommended to use a penetrating sealer before grouting and periodically as needed afterward. This sealer helps protect the unglazed surface from stains and makes maintenance easier.
5.3 Durability: Over time, Zellige tiles may show signs of wear, including slight fading or surface changes. These natural changes contribute to the tile’s unique and aged appearance, adding to its character and beauty. With proper installation and maintenance, Zellige tiles can last for many years while maintaining their charm.
In conclusion, Zellige tiles bring a touch of Moroccan elegance and craftsmanship to any space. By following the guidelines provided in this user guide, you can ensure a successful installation and proper maintenance of your Zellige tiles, allowing you to enjoy their unique beauty for years to come.