What Are Zellige Tiles?
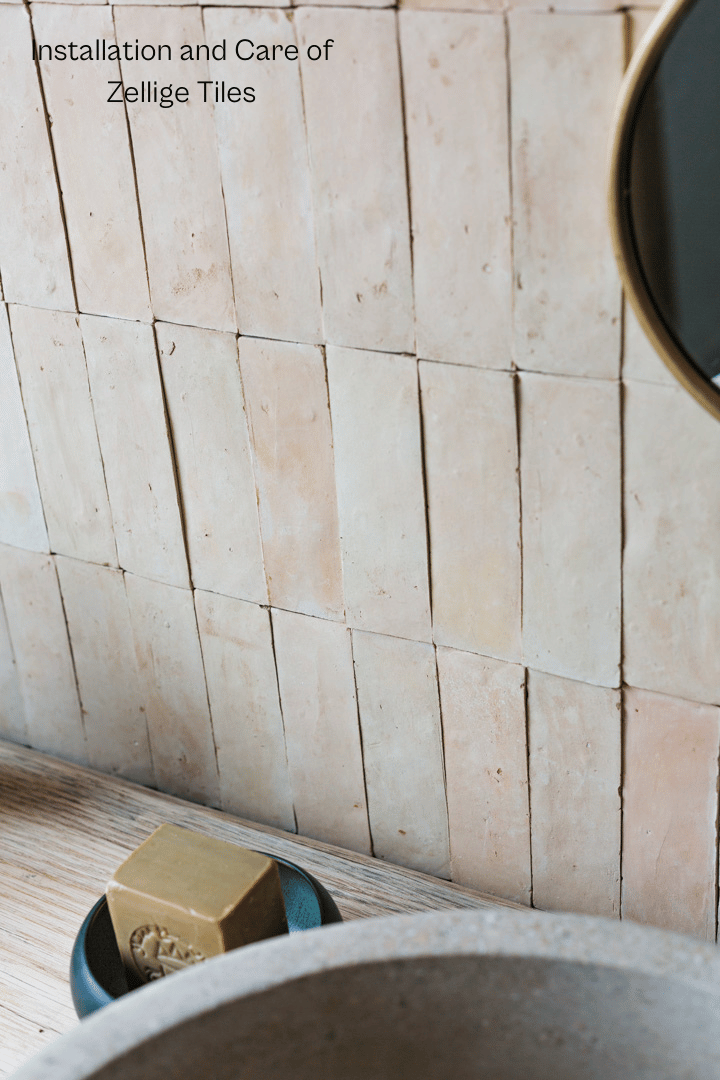
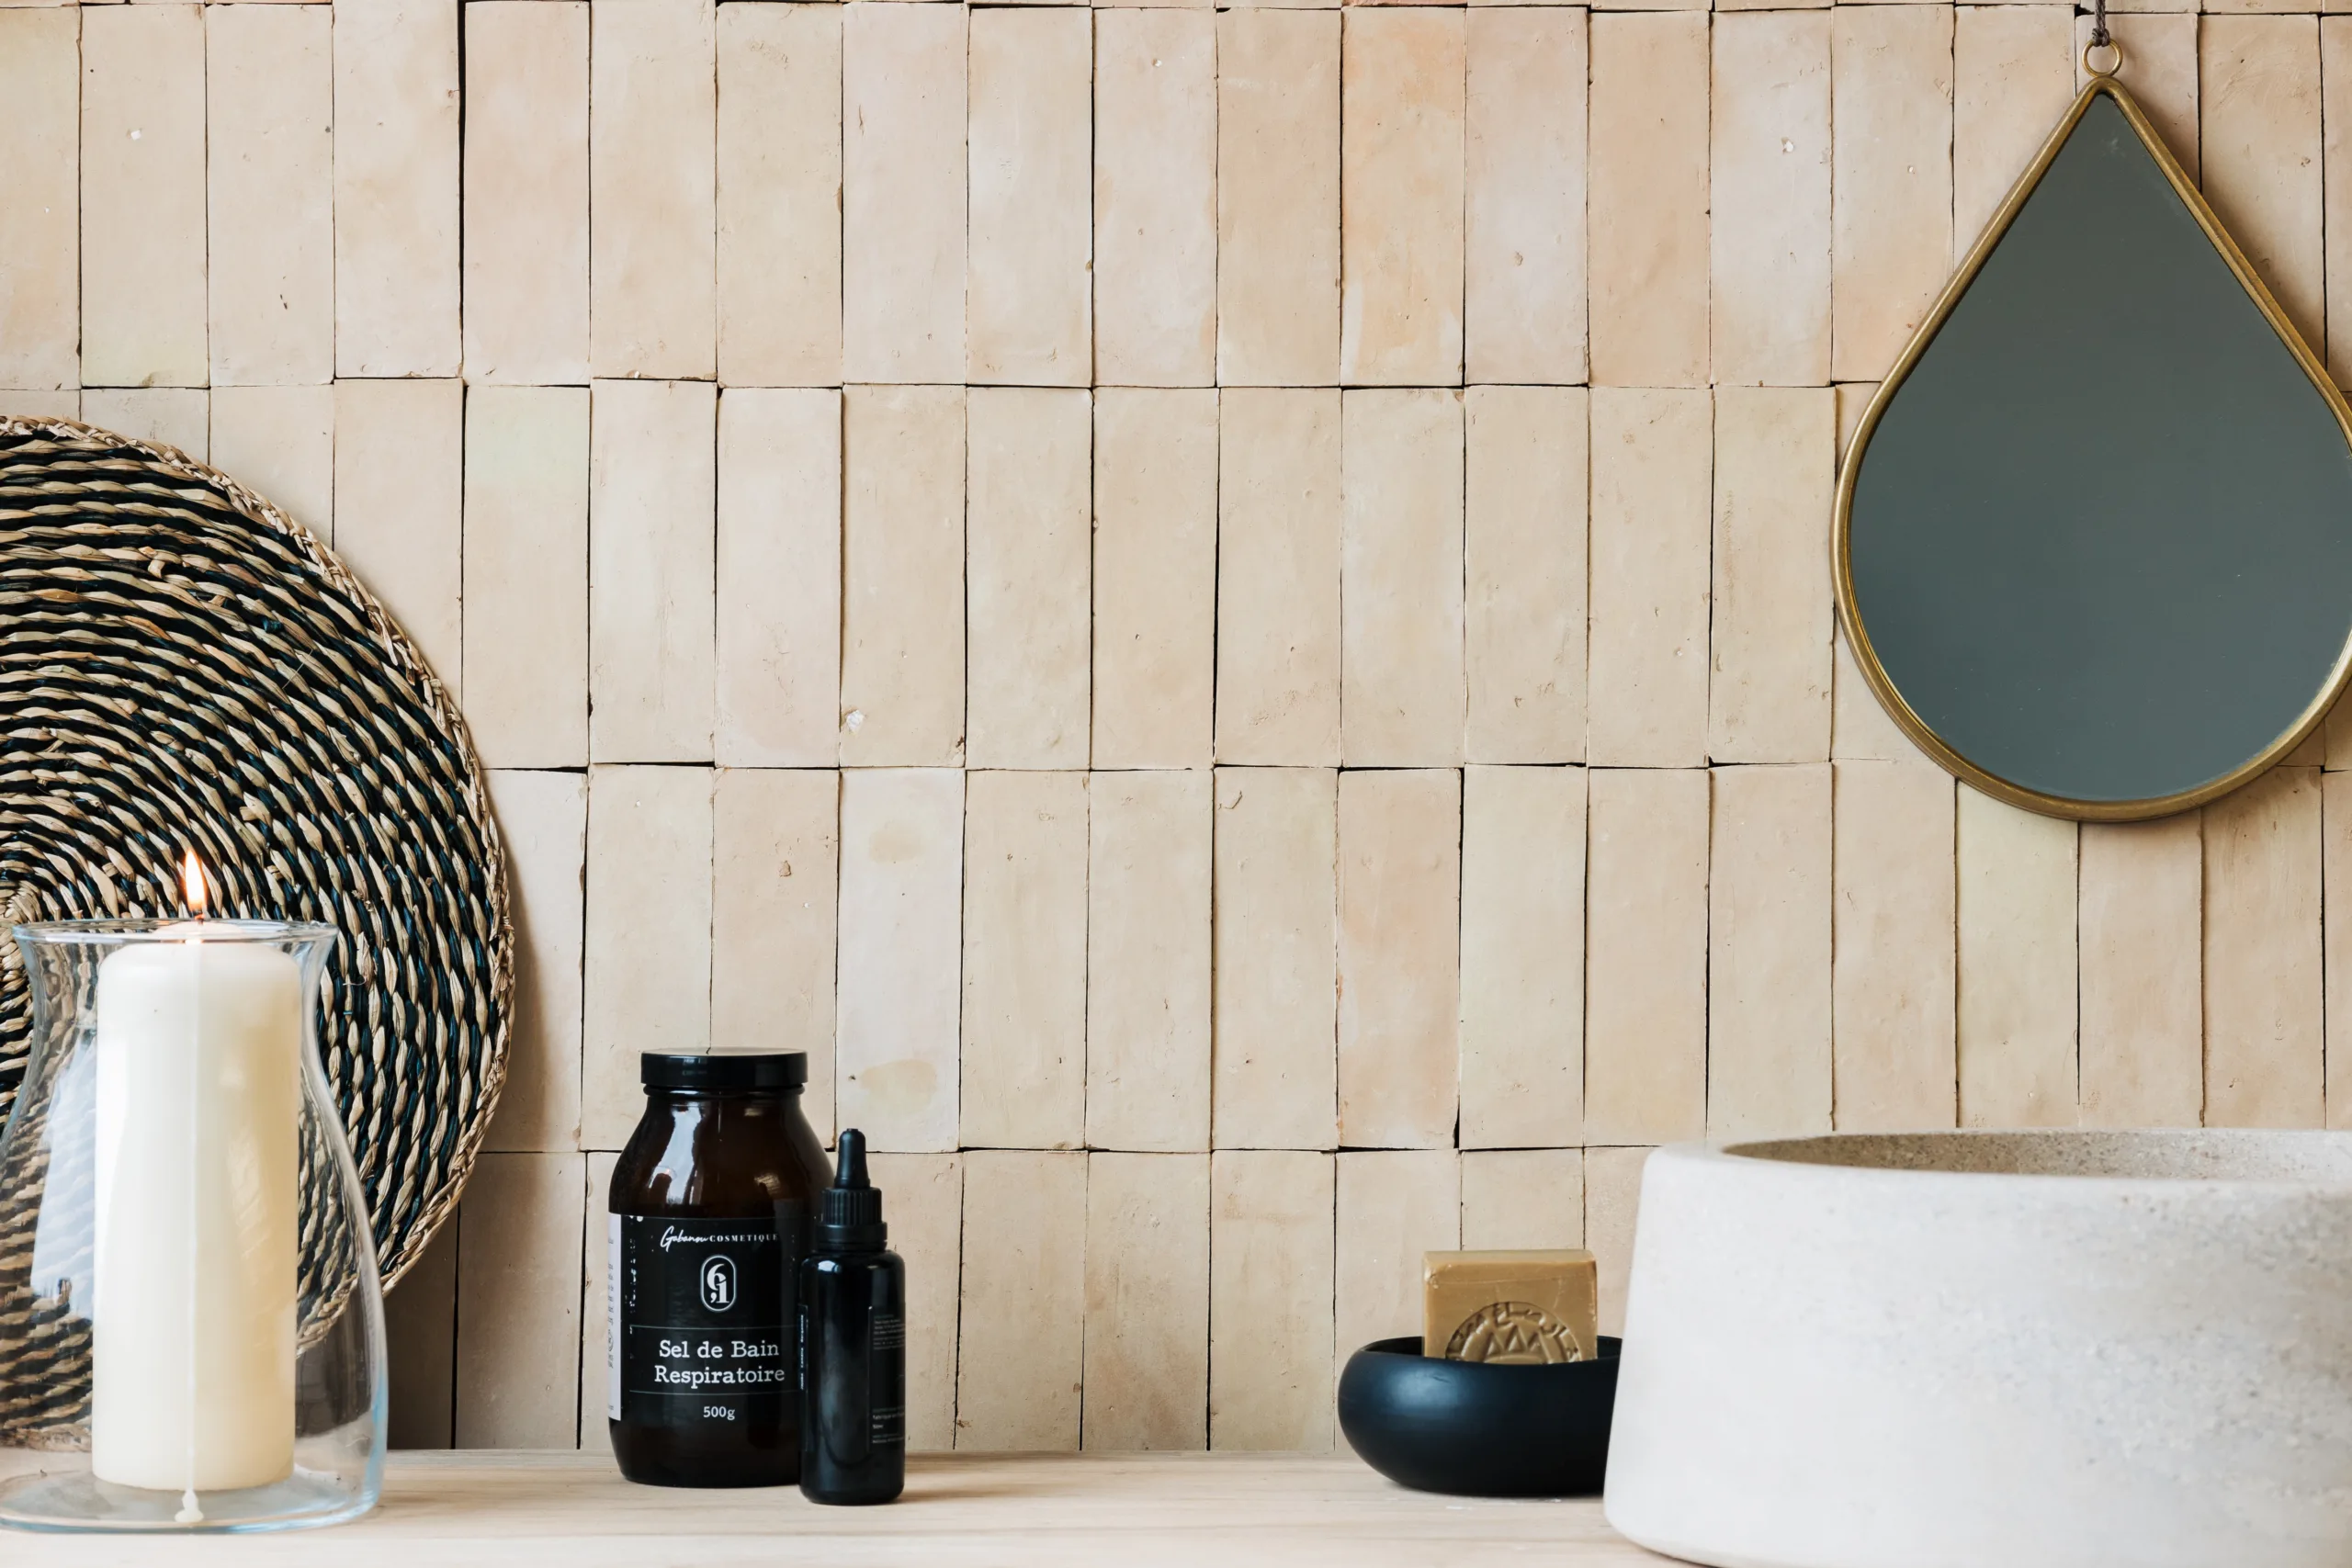
Zellige tiles are handcrafted clay tiles originating from Morocco. Known for their unique, glossy appearance and vibrant colors, each tile is individually cut, glazed, and fired in a kiln, resulting in a distinctive look with slight variations in size, shape, and color. This process makes Zellige tiles highly sought after for their artisanal quality and aesthetic appeal. Paris Tiles is one of the major providers of high-quality Zellige tiles, ensuring authenticity and superior craftsmanship.

Next, we will discuss the essential preparation steps for a successful Zellige tile installation, focusing on surface readiness and required tools.
How to Prepare for Zellige Tile Installation?
Preparation is crucial for a successful Zellige tile installation. This involves ensuring a clean, flat surface, gathering the necessary tools, and planning the layout.
- Surface Preparation: Ensure the surface is clean, dry, and free from debris. Use a level to confirm the surface is flat. A well-prepared surface prevents future issues such as tile slippage or unevenness.
- Tools Required: Gather essential tools such as a notched trowel, tile spacers, a level, a rubber mallet, and a tile cutter. Having the right tools on hand ensures a smooth installation process.
- Layout Planning: Plan the layout before starting. This helps to visualize the final design and ensures a symmetrical installation. Accurate layout planning minimizes the need for adjustments during installation.
Now that the preparation is complete, the next step involves laying the Zellige tiles precisely.
How to Lay Zellige Tiles?
Laying Zellige tiles requires precision and patience. Here’s a step-by-step guide:
- Applying Adhesive: Spread a thin layer of tile adhesive on the surface using a notched trowel. Work in small sections to prevent the adhesive from drying out. Use an adhesive recommended for ceramic tiles for optimal adhesion.
- Placing Tiles: Place the Zellige tiles onto the adhesive. Use tile spacers to maintain even gaps between tiles. This step ensures uniformity and allows for consistent grout lines.
- Alignment: Use a level to ensure the tiles are evenly aligned. Adjust as necessary using a rubber mallet. Proper alignment prevents future issues and enhances the overall appearance.
- Drying Time: Allow the adhesive to dry for the recommended time, usually 24 hours. This ensures the tiles are firmly set before grouting.
In some cases, cutting Zellige tiles might be necessary to fit edges and corners.
How to Cut Zellige Tiles?
Cutting Zellige tiles may be necessary to fit edges and corners. Use a wet tile saw for clean, precise cuts.
- Marking: Measure and mark the tiles where cuts are needed. Accurate marking ensures precision.
- Cutting: Use a wet tile saw to cut the tiles along the marked lines. Wear protective goggles to protect your eyes from debris. The wet saw minimizes chipping and provides a smooth edge.
- Smoothing Edges: Smooth any rough edges with a tile file to prevent sharp edges. This step ensures safe handling and a professional finish.
Once the tiles are cut and placed, the next crucial step is grouting the Zellige tiles to fill the gaps and secure them.
How to Grout Zellige Tiles?
Grouting Zellige tiles fills the gaps and secures the tiles in place. Follow these steps:
- Choosing Grout: Select a grout that complements the color of your Zellige tiles. Unsanded grout is recommended for narrow joints. This type of grout prevents scratching of the tiles.
- Mixing Grout: Mix the grout according to the manufacturer’s instructions until it reaches a smooth consistency. Proper mixing ensures even application.
- Applying Grout: Use a grout float to spread the grout over the tiles, ensuring all gaps are filled. This step ensures stability and aesthetics.
- Cleaning Excess Grout: Wipe off excess grout with a damp sponge before it dries. Allow the grout to cure for the recommended time, usually 24-48 hours. Proper cleaning prevents haze and ensures a clean finish.
After grouting, sealing Zellige tiles is essential to protect them from moisture and stains.
How to Seal Zellige Tiles?
Sealing Zellige tiles is essential to protect them from moisture and stains.
- Choosing a Sealer: Select a penetrating sealer that is suitable for ceramic tiles. A good sealer penetrates the porous surface of the tiles to provide long-lasting protection.
- Application: Apply the sealer with a brush or sponge, ensuring even coverage. Avoid pooling of the sealer on the tile surface. Even application prevents streaking and uneven protection.
- Drying Time: Allow the sealer to dry completely, following the manufacturer’s instructions. Proper drying ensures maximum effectiveness.
To maintain their glossy appearance, regular cleaning of Zellige tiles is necessary.
How to Clean Zellige Tiles?
Regular cleaning keeps Zellige tiles looking new and maintains their glossy appearance.
- Daily Cleaning: Wipe the tiles with a damp cloth to remove dust and debris. Regular cleaning prevents the buildup of dirt and grime.
- Deep Cleaning: For deep cleaning, use a mild detergent and water. Avoid acidic or abrasive cleaners as they can damage the tiles. Gentle cleaning solutions maintain the integrity of the tiles.
- Removing Stains: For stubborn stains, use a mixture of baking soda and water. Apply the paste to the stain and scrub gently with a soft brush. Effective stain removal techniques preserve the tile’s appearance.
Proper maintenance also extends the life of Zellige tiles.
How to Maintain Zellige Tiles?
Proper maintenance extends the life of Zellige tiles and keeps them looking their best.
- Regular Sealing: Reapply the sealer every 1-2 years to maintain protection against moisture and stains. Regular maintenance ensures long-term durability.
- Repairing Chips and Cracks: Small chips and cracks can be repaired with color-matching epoxy. Larger damages may require professional repair. Timely repairs prevent further damage.
- Efflorescence Removal: Efflorescence, a white powdery residue, can be removed with a vinegar solution. Ensure tiles are properly sealed to prevent recurrence. Preventive measures and proper sealing techniques maintain tile aesthetics.
In situations where tiles need to be removed, careful techniques are necessary to avoid damage.
How to Remove Zellige Tiles?
Removing Zellige tiles requires care to avoid damaging the underlying surface.
- Scoring the Grout: Use a utility knife to score the grout lines around the tiles you wish to remove. Scoring weakens the grout for easier removal.
- Loosening the Tiles: Insert a chisel under the edge of the tile and tap it with a hammer to loosen the tile. Careful loosening prevents surface damage.
- Removing the Tiles: Carefully lift the tile away from the surface. If the tile breaks, remove the pieces individually. Proper removal techniques ensure minimal damage.
Sometimes, drilling into Zellige tiles is needed for installing fixtures like towel racks or shelves.
How to Drill Zellige Tiles?
Drilling into Zellige tiles allows for the installation of fixtures such as towel racks or shelves.
- Marking the Spot: Mark the spot where you need to drill. Accurate marking ensures precision.
- Using the Right Bit: Use a diamond-tipped drill bit for ceramic tiles. Start drilling at a low speed to prevent the tile from cracking. The right bit and speed prevent damage.
- Applying Steady Pressure: Apply steady pressure while drilling to ensure a clean hole. Steady pressure ensures a smooth, even hole.
Additionally, scrubbing Zellige tiles is essential for removing tough stains and grime.
How to Scrub Zellige Tiles?
Scrubbing Zellige tiles is necessary to remove tough stains and grime.
- Choosing a Scrub Brush: Use a soft-bristled brush to avoid scratching the tiles. The right brush prevents damage.
- Cleaning Solution: Use a mild detergent mixed with water for scrubbing. Gentle cleaning solutions maintain tile integrity.
- Scrubbing Technique: Scrub the tiles gently in a circular motion. Rinse with clean water and dry with a soft cloth. Proper technique ensures effective cleaning.
Despite the careful installation process, there can be challenges due to the handcrafted nature of Zellige tiles.
What Are the Challenges of Installing Zellige Tiles?
Installing Zellige tiles can be challenging due to their handcrafted nature and variability in size and shape.
- Irregular Edges: The irregular edges of Zellige tiles require careful alignment and spacing during installation. Proper alignment ensures a professional finish.
- Fragility: Zellige tiles can be fragile and prone to chipping, requiring careful handling and cutting. Gentle handling prevents damage.
- Moisture Sensitivity: Proper sealing is essential to protect Zellige tiles from moisture damage. Effective sealing techniques prevent moisture-related issues.
Understanding and addressing common issues can further ensure the longevity and beauty of Zellige tiles.
How to Address Common Issues with Zellige Tiles?
Understanding and addressing common issues can ensure the longevity and beauty of your Zellige tiles.
- Color Variation: Embrace the natural color variation in Zellige tiles as part of their unique charm. Natural variations enhance aesthetic appeal.
- Efflorescence: Efflorescence, a white powdery residue, can be removed with a vinegar solution. Ensure tiles are properly sealed to prevent recurrence. Proper sealing techniques prevent efflorescence.
- Loose Tiles: If tiles become loose, reapply adhesive and grout to secure them in place. Proper reapplication techniques ensure stability.
For a cohesive and unique design, integrating Zellige tiles with other materials can be highly effective.
How to Integrate Zellige Tiles with Other Materials?
Integrating Zellige tiles with other materials can create a unique and cohesive design.
- Combining with Wood: Zellige tiles can be paired with wood elements to create a warm, rustic look. The combination enhances aesthetic appeal.
- Mixing with Metal: Metal accents can add a modern touch to Zellige tile installations. The mix provides a contemporary feel.
- Incorporating Glass: Glass elements can enhance the glossy finish of Zellige tiles, creating a reflective and bright space. The combination adds visual interest.
Finally, choosing the right Zellige tiles involves careful consideration of color, size, and layout.
How to Choose the Right Zellige Tiles for Your Project?
Choosing the right Zellige tiles involves considering color, size, and layout.
- Color Selection: Choose colors that complement your overall design and personal style. Color coordination enhances the overall look.
- Tile Size: Consider the size of the tiles in relation to the space. Smaller tiles can create a more intricate design, while larger tiles offer a cleaner look. Size selection impacts visual appeal.
- Layout Planning: Plan the layout to ensure a cohesive and balanced design. Proper planning ensures symmetry and balance.
For more information on Zellige tiles, visit our Pillar Article.
In conclusion, Zellige tiles offer a unique and timeless option for various design projects. Their handcrafted beauty, durability, and versatility make them an excellent choice for different applications. Proper installation, maintenance, and care will ensure your Zellige tiles remain a stunning feature for years to come.


